How To Descale A Keurig
by Selmir Omic
Descaling your Keurig does not score highly most people's top ten ways they'd want to spend their day.
In fact, it rates somewhere between sleeping in a revolving door and cleaning out the bird bath.
The thing is, without proper maintenance, your beloved Keurig will simply limp on, spewing out half heated and slightly depressing results.
Until, one day, it will give up completely and depart this mortal coil leaving you a caffeine starved fiend in desperate need of fresh cup of joe.
This is why you REALLY need to know how to descale a Keurig and all the best tips and hints to achieve this in a timely fashion.
There are times in its life when your coffee maker needs lurve but also, as we shall be finding out, when it just needs a damn good slap.
Stay with us to find out more about:
Contents
- How to Descale a Keurig With White Vinegar
- How to Descale a Keurig With Descaling Solution
- How to Unclog Your Keurig?
- How Often You Should Clean Your Keurig?
- How to Descale a Keurig Mini Plus B31
- How to Descale a Keurig Elite B40 / Classic B44 / Special Edition B60 / Platinum B70
- Plan B : How to Descale a Keurig (The Unofficial Spanking Version)
- Benefits of Descaling a Keurig
Let's get some cleaning done!

How to Descale a Keurig With White Vinegar
Yes, you've read correctly! A Keurig can be descaled by using white vinegar. Here is how to do it:
These are the ingredients you will need:
- Dish soap
- White vinegar
- Clean water
- Clean, dry cloths
What to do:
- First thing first, turn off your Keurig. Even better, unplug it from the wall socket.
- Remove the water reservoir and lid from the machine. Next, remove the mug stand and the K-cup holder. If your Keurig has a removable drip tray, remove it too.
- Wash all the parts you've removed in warm soapy water. Let the parts air dry. Don't use a cloth to dry the parts as it could leave lint behind.
- Wipe down all the machine's surfaces with a clean, damp cloth.
- Now, put back the machine together and plug it into the wall socket.
- Next, fill the half of the reservoir with white vinegar. Top up the reservoir with clean water.
- Place a mug in position and start the standard brew cycle, but don't insert the K-cup yet. Keep repeating the cycle until the reservoir is completely empty. Make sure you throw away the contents after each cycle.
- The process of running vinegar through the machine will dissolve and remove nay accumulated mineral deposits and dirt.
- Once the reservoir is empty, repeat the process using only clean water in the reservoir. You may want to repeat the same process several times in order to fully get rid of any remaining vinegary taste.
- That's it! Your Keurig is now all set to brew a cup of delicious coffee.
It is worth mentioning that while using white vinegar is cheaper than using Keruig's branded cleaning solution it might not do the job as good as Keurig's solution.
Also, if you find yourself having to call on Keurig's warranty to fix any issues with your machines, they might not be happy to find out you have been cleaning the unit by using vinegar instead of their branded cleaning product.
Now, onto branded descaling solutions..
How to Descale a Keurig With Descaling Solution
- #PreviewProductRating
- Bestseller No. 1
 Rating:

Using the K70 Keurig Platinum Brewer as an Example. Although This Should Be the Same for All K Cups Except for the Mini, Mini Plus and B-K130 Series. Videos Can Be Found on Keurig.com for These Models.
To Prepare
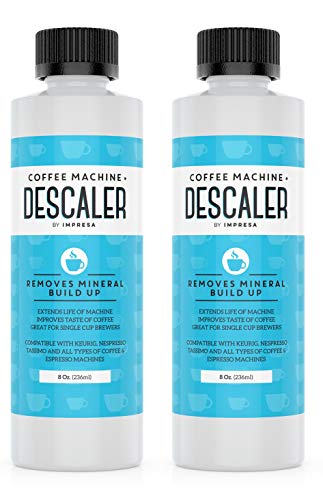
- Two+ bottles of keurig descaling solution (to be on the safe side)
- One ceramic cup
- One empty sink
- Allow forty five minutes of time to complete
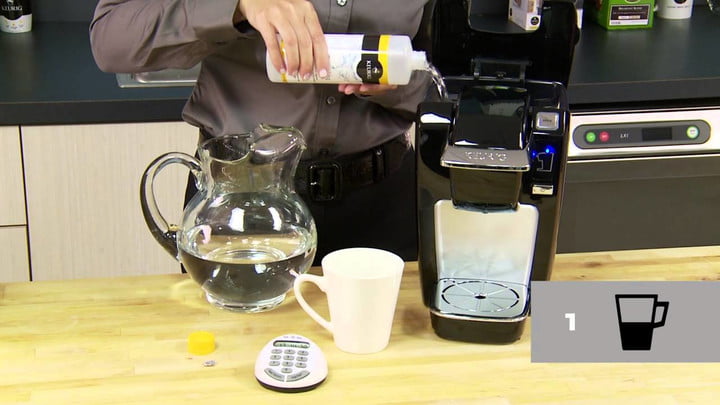
First Descaling Solution Rinse
- Empty water reservoir
- Remove water filter if there is one
- Power up the brewer
- Pour one bottle of descaler into the reservoir
- Fill the empty descaler bottle with water and pour
- Into the reservoir
- Put the mug on the drip tray
- Run a cleansing brew
- Do not use a k cup
- Pour the contents away
Second Descaling Solution Rinse
- Repeat the first descaling instructions until "Add water" is indicated
- Let the brewer stand for half an hour or longer - leave it switched on
- Empty the reservoir in the sink and rinse thoroughly
- Put it back in the brewer when rinsed
A Fresh Water Rinse
- Fill the water reservoir with water
- Put the mug on the drip tray
- Run a cleansing brew
- Do not use a k cup or similar
- Pour away the contents
- Repeat the cleansing brew process twelve times
Clean but clogged!? No worries, here is the solution…
How to Unclog Your Keurig?
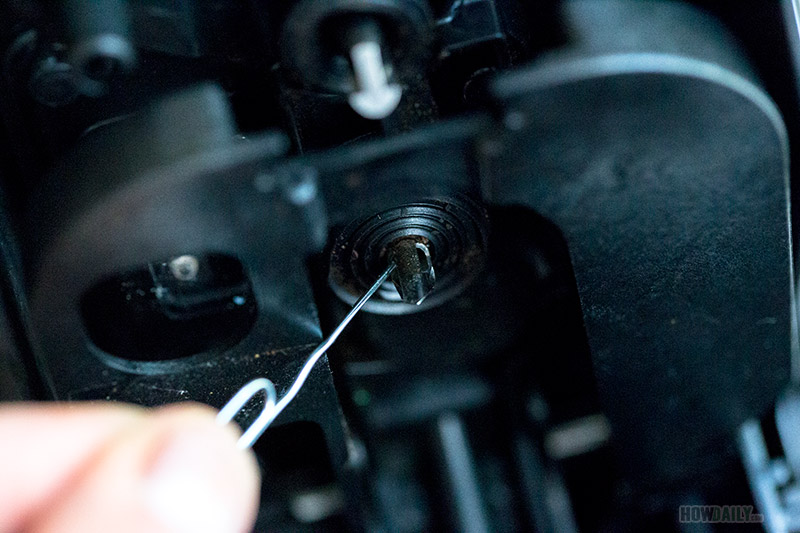
If your Keurig suddenly stops brewing, it may be clogged. Don't worry too much as this is a common issue that can be easily fixed. Here is how you can easily unclog your Keurig by using just a paperclip:
First remove the water reservoir, drip tray and K-cup holder. Once you've removed these parts, use the opportunity to give them a proper cleaning.
When you take out the K-cup holder, you will be able to see the hollow needle that punctures the K-cup.
Uncurl your paperclip and use it to loosen and remove any coffee grounds which have become stuck there. You can also wrap the paperclip in a piece of cloth and wipe down all the parts around the K-cup needle.
You are now all ready to put your Keurig back together. Once you put it back together, we suggest you to once run the brew cycle with just water to wash out any remaining dirt. After that, your Keurig is all set for producing satisfying cups of coffee.
Here is how often you need to clean your Keurig:
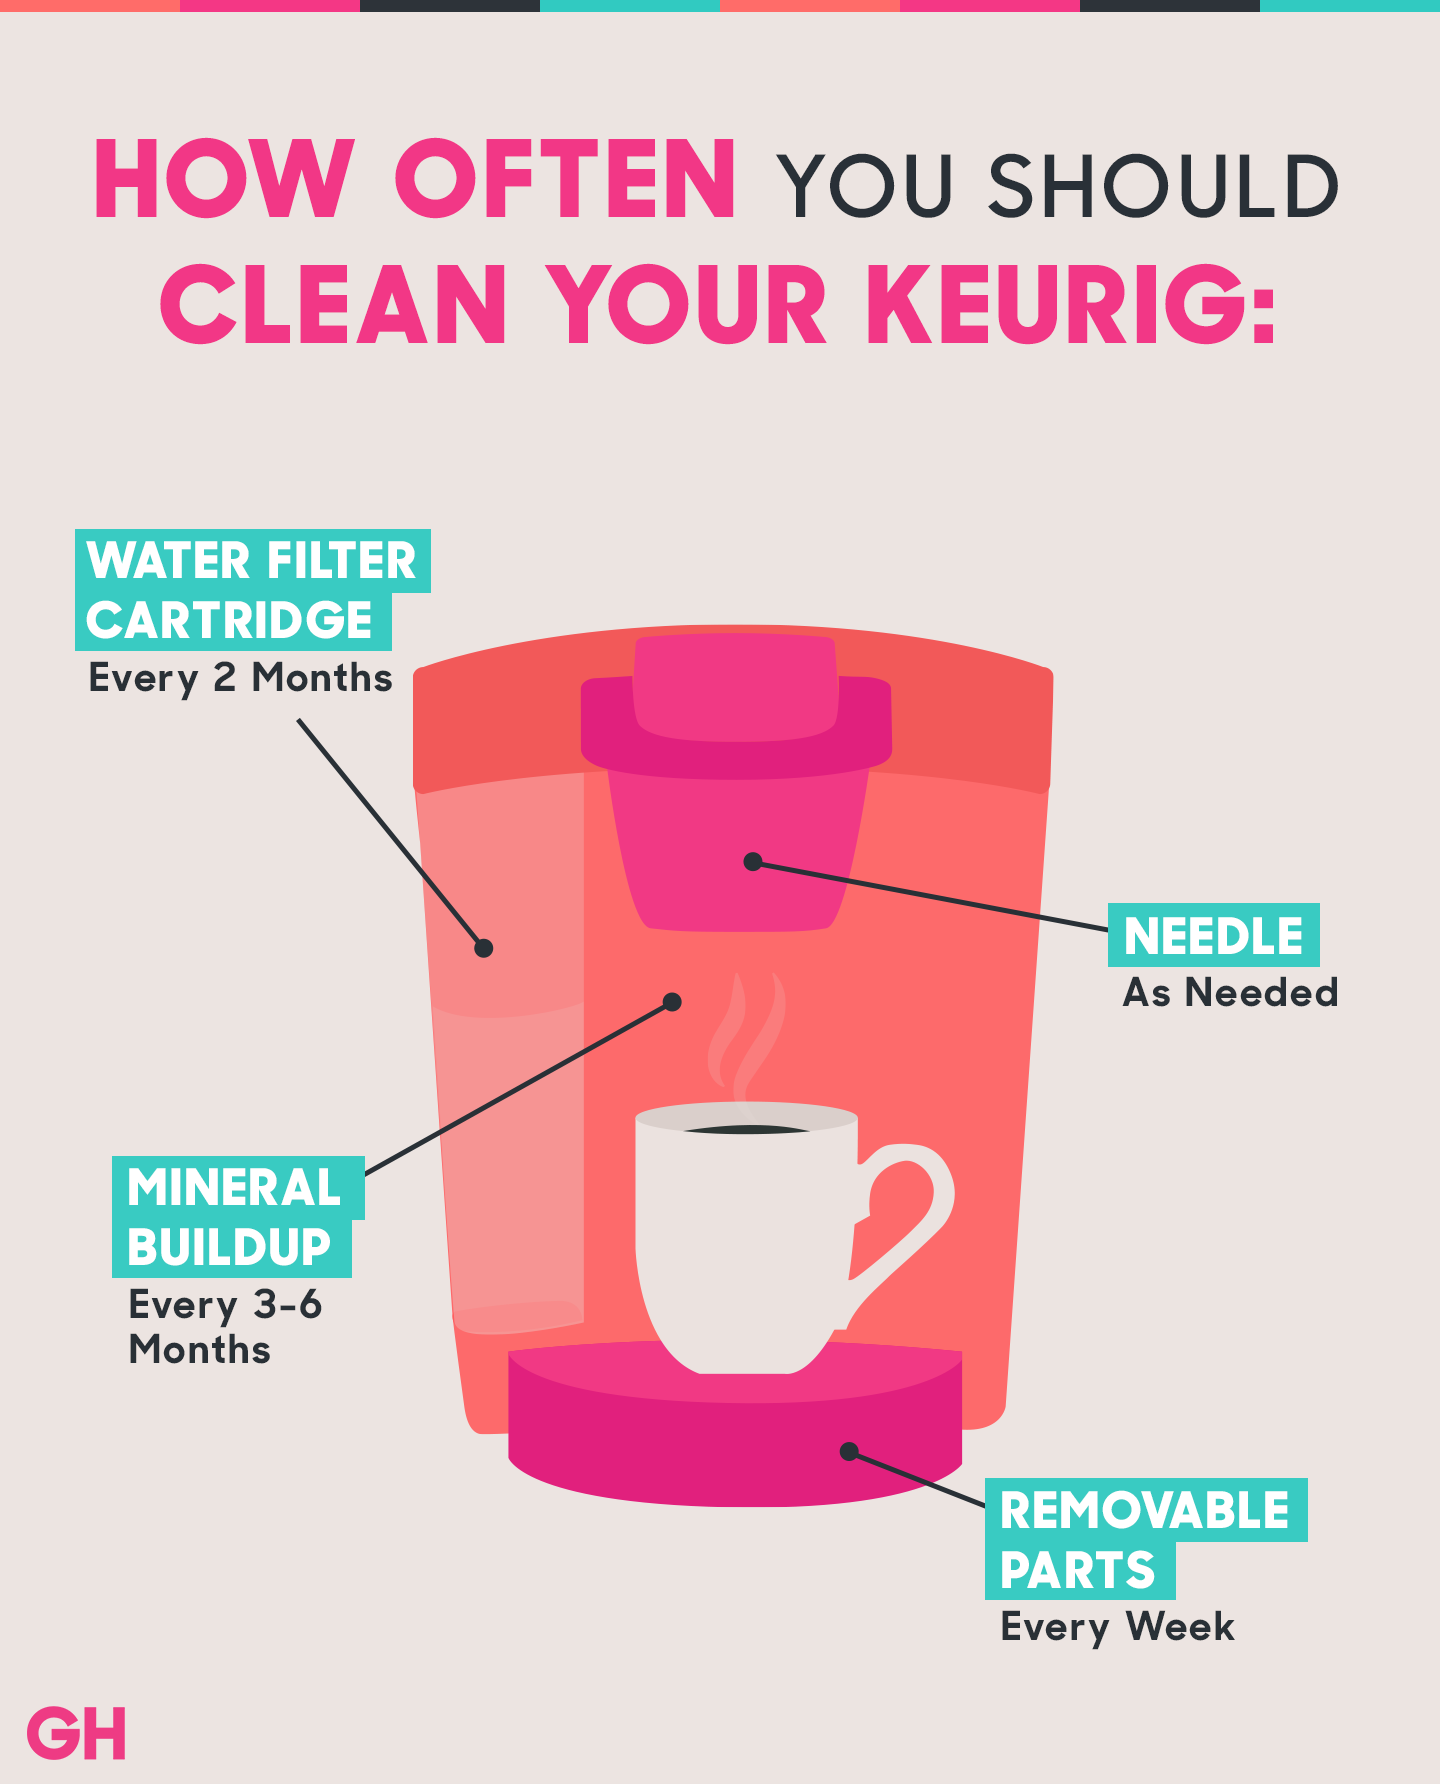
How Often You Should Clean Your Keurig?
Let's be honest, we all enjoy pressing a button on our Keurig and waiting for an amazing brew to come out in just a few seconds, but none of us like spending some time cleaning the thing.
We should all feel guilty for not maintaining our Keurigs as these things can get really dirty.
Whether you are using it very often or not, you should occasionally clean it. How often you should clean it? Well, there are parts you should clean every week, every month, or every few months:
Every week:
Unplug your Keurig and clean the mug tray and cup holder using warm soapy water. Remove the water filter and wipe the reservoir and lid with a damp, soapy cloth. Rinse everything with water and let it air dry.
We suggest you not to dry it with a cloth as this could leave lint behind. At the end, wipe down the exterior surface and reassemble it. That's it; your Keurig is now ready to be used.
Every month:
Replacing or cleaning your water filter cartridge every month will help you keep your coffee fresh. If you are replacing your cartridge, start by soaking the new cartridge in fresh water for a couple of minutes, and then rinse it in for about 60 seconds.
Don't forget to clean the lower filter holder before inserting the new cartridge. Now, put everything back together, turn on your Keurig and make yourself a cup of coffee. You deserve it!
Every few months:
Hard water minerals can build up in your Keurig over time, affecting how well it works. To remove these minerals, you will have to descale your machine. Start by filling the reservoir with around 10 ounces of white vinegar or Keurig's branded descaling solution.
Start the brew cycle without a K-cup. Let the machine do its cycle as usual, using a mug to catch the pouring liquid. If needed repeat the same process one more time.
At the end, repeat the process once again, but now use 10 ounces of fresh water instead of vinegar or descaling solution.
Here is a step by step cleaning guide for Keurig Mini Plus B31:
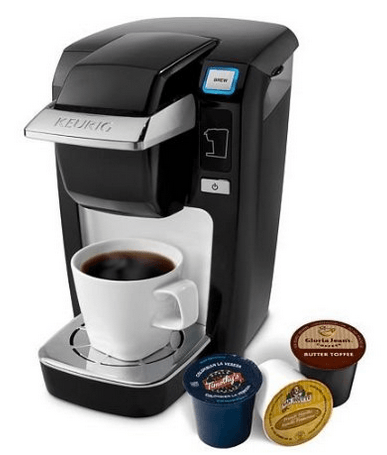
How to Descale a Keurig Mini Plus B31
FIRST YOU NEED:
- A 12 OUNCE CERAMIC MUG - NOT A PAPER CUP
- 20 OUNCES OF UNDILUTED WHITE VINEGAR
- AN EMPTY SINK
RINSE, CLEAN AND FILL - FIRST VINEGAR RINSE
- POUR 10 OUNCES OF WHITE VINEGAR INTO THE RESERVOIR
- PUT THE CERAMIC CUP IN THE DRIP TRAY AREA
- NOW RAISE THE BREWER HANDLE BUT DO NOT ADD A K CUP
- WAIT FIVE SECONDS AND LOWER THE BREWER HANDLE
- PRESS THE FLASHING BLUE 'BREW' BUTTON- IT WILL FLASH RED, THEN TURN RED
- WAIT FOR THE VINEGAR TO BE DISPENSED AND POUR THE HOT SOLUTION AWAY DOWN THE SINK
RINSE, CLEAN AND FILL - SECOND VINEGAR RINSE
- POUR THE REST OF THE VINEGAR INTO THE RESERVOIR (10 OZ)
- PUT THE MUG ON THE DRIP TRAY
- LIFT THE BREW HANDLE AGAIN NOT ADDING A K CUP
- WAIT FIVE SECONDS THEN PRESS BLUE 'BREW' BUTTON - IT WILL FLASH RED THEN TURN RED
- WHEN IT TURNS RED PRESS 'POWER OFF' AS IT BEGINS TO OPERATE
- ALLOW THE BREWER TO STAND FOR HALF AN HOUR
- SWITCH ON, LIFT AND LOWER THE BREWER HANDLE AND PRESS 'BREW' BUTTON
- ONCE THE HOT VINEGAR HAS SPEWED ALL THE WAY THROUGH THE MACHINE POUR IT AWAY
FRESH WATER RINSE
- FILL THE RESERVOIR WITH TEN OUNCES OF WATER
- PUT THE CERAMIC MUG ON THE DRIP TRAY
- LIFT THE BREW HANDLE NOT ADDING A K CUP
- LOWER BREWING HANDLE UNTIL HOT WATER COMES THROUGH TO THE MUG
- DISCARD CONTENTS INTO THE SINK
- GREAT SCOTT! YOU HAVE REPEAT THIS LAST STAGE THREE TIMES OVER!
- NOW YOU CAN BREW K CUPS AGAIN (HOPEFULLY)
…and if none of that made any sense, here is a video that should help if all else fails!
Next, let's clean Elite B40, Classic B44, Special Edition B60 or Platinum B70
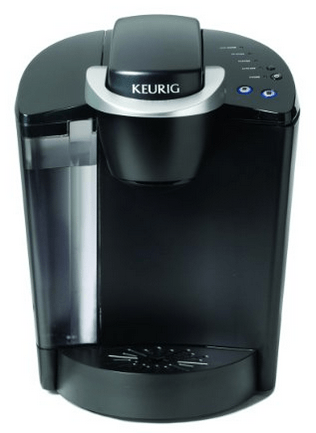
How to Descale a Keurig Elite B40 / Classic B44 / Special Edition B60 / Platinum B70
FIRST YOU NEED:
- A LARGE CERAMIC MUG - NOT PAPER
- 48 OUNCES UNDILUTED WHITE VINEGAR
- A SINK
- A GLASS OF GIN (LARGE)
TO PREPARE
- EMPTY THE WATER RESERVOIR
- PLACE THE MUG ON THE DRIP TRAY
- RUN THE BREW CYCLE DO NOT USE A K CUP
- PRESS 'BREW'
- POUR CONTENTS AWAY
- REPEAT AS ABOVE UNTIL "ADD WATER" IS INDICATED
- ALLOW THE BREWER TO STAND FOR AT LEAST FOUR HOURS WHILST STILL ON
- DISCARD ANY VINEGAR AND RINSE THE RESERVOIR THOROUGHLY
TO RINSE
- FILL RESERVOIR WITH FRESH WATER
- PLACE MUG ON DRIP TRAY
- BEGIN WATER BREW CYCLE
- POUR THE CONTENTS AWAY
- REPEAT THE PROCESS UNTIL 'ADD WATER' IS ASKED FOR
- REPEAT AS MANY TIMES AS NECESSARY TO GET RID OF THE VINEGAR TASTE/ SMELL
- IF IT STILL ASKS TO BE DESCALED, REPEAT THE WHOLE PROCESS AGAIN UNTIL IT QUITS WHINGING
- IT SHOULD NOW BE SAFE TO DRINK THE GIN
If all of the above was just pops and buzzes, then watch this video…
TROUBLE SHOOTING
This may have resulted in a 'foam' being dispensed from your K cup maker but this is normal. If there is no output following the de-scaling and a sound of air blowing out, here is what to do.
- UNPLUG THE BREWER
- IF THERE IS STILL DESCALER IN THE RESERVOIR, POUR AWAY AND RINSE THOROUGHLY
- REFILL WITH WATER
- RE-PLUG IN AND POWER ON
- REPEAT WITH THE RINSE CYCLE
- IF IT STILL WON'T WORK UNPLUG FOR 30 MINUTES BEFORE REPEATING
STILL GOT A PROBLEM?

If by the time you have repeated this torturous process until you are blue in the face, you might be on the verge of giving up and just buying a new one. If that is the case then you may want to revert to Plan B.
Let's move onto Plan B…
Plan B : How to Descale a Keurig (The Unofficial Spanking Version)
This works so well it actually ought to be in the user manual. And, even if it doesn't work, it should at least act as some form of cathartic therapy.
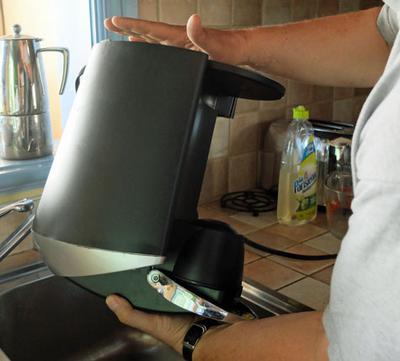
- UNPLUG THE BREWER
- REMOVE THE DRIP TRAY
- TURN THE KEURIG UPSIDE DOWN OVER AN EMPTY SINK
- REALLY THUMP IT - HARD
- THUMP IT AGAIN FOR GOOD MEASURE
- PUT IT ALL BACK TOGETHER
- PLUG IT IN AND BREW UP
- VOILA!
In order not to invalidate any warranty it should be pointed out that the manufacturer's instructions should be followed at all times and that Keurig recommend you de-scale your machine as per the instructions every three to six months.

BUT the "happy slapping" method has yielded many happy outcomes.
Even if this hasn't worked, you probably haven't lost a whole lot by trying it and now have the gin on standby to try and numb you from the draining process that was trying to figure out how to descale a Keurig.
Well, that was four hours out of your life that you'll never get back.
Benefits of Descaling a Keurig

If you're a coffee lover, then you know how important it is to have a great cup of coffee. But what you may not know is that one of the most important things you can do to ensure great-tasting coffee is to descale your Keurig on a regular basis. Here's why:
- Descaling removes built-up minerals from the water reservoir, which can affect the quality of your coffee.
- Minerals can also build up in the heating element and cause it to malfunction.
- Descaling prolongs the life of your Keurig by keeping it clean and free of mineral buildup.
- It's easy to do and only takes a few minutes.
So, if you want to enjoy the best possible cup of coffee from your Keurig, be sure to descale it on a regular basis. It's the best way to keep your machine running like new.


About Selmir Omic
Selmir Omic is KYG's cannabis lifestyle writer. He currently resides in San Francisco and can often be found enjoying design-forward cannabis accessories, candles and seltzer simultaneously. When he's not writing about pot or waxing poetic about vape pens, Selmir can be counted on to offer sage advice about the best strains for anxiety or how to make cannabutter without a stovetop.
Thoughts on "How To Descale A Keurig"
Get FREE Coffee Gifts now. Or latest free grinders from our best collections.
Disable Ad block to get all the secrets. Once done, hit any button below