How To Make An Aeropress Latte (Includes Recipe)
by Jeanette Kierstead
So, you are a fan of lattes AND you own an Aeropress?
Well, then you know what time it is… it’s time to make yourself a delicious Aeropress-style latte (aka café latte), the beloved milk-based beverage many of us crave, from the comfort of your own home.
If you were ever wondering how to make your own lattes at home, this is one of the ways it can be done easily, and one of the best methods, at that!
But maybe you need to know exactly how to make one, ie. a recipe. Well, you’ve come to the right place. 🙂
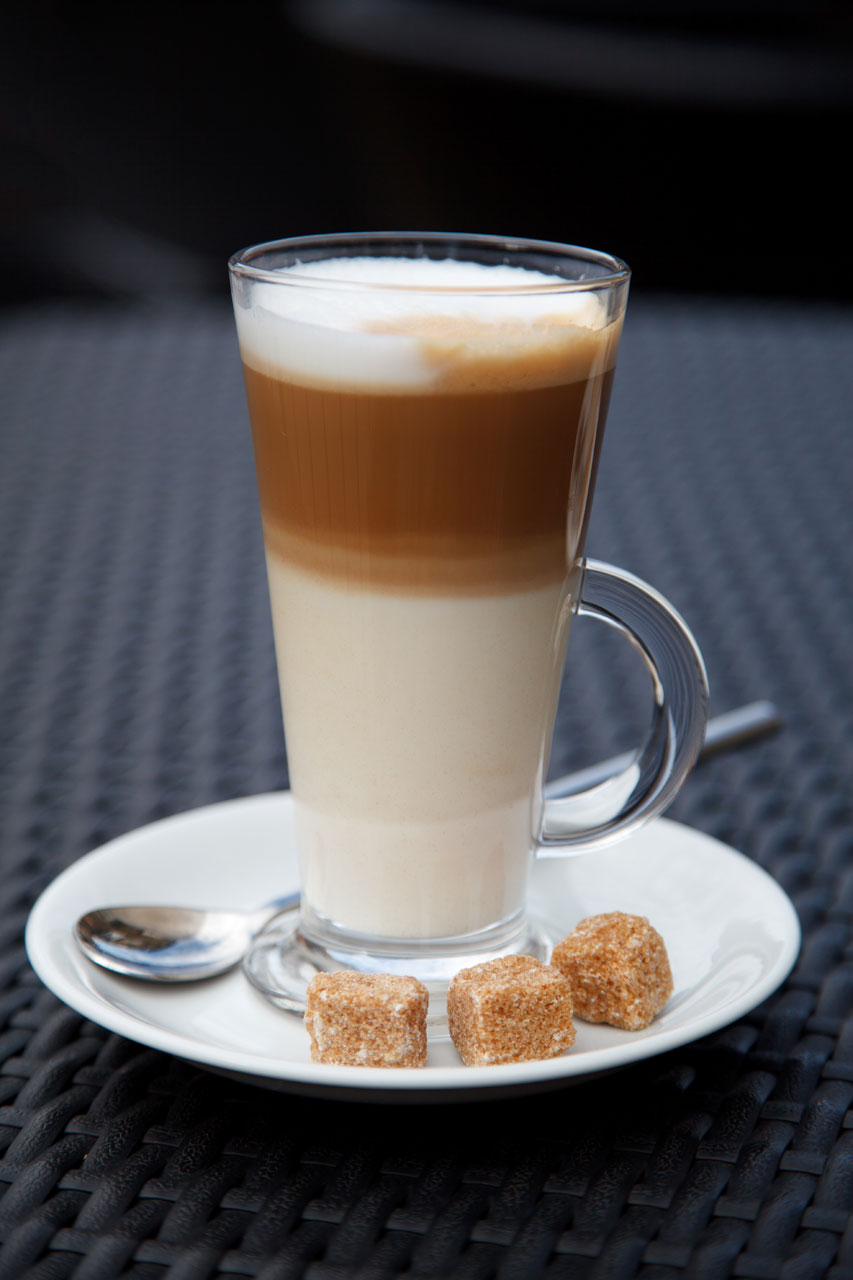
Table of Contents
- About The Different Lattes
- Can An Aeropress Produce Espresso?
- How To Use The Aeropress
- What’s The Best Milk For Aeropress?
- The Aeropress Milk Frother
- How To Make An Aeropress Latte w/ Recipe
- Aeropress Latte Video Reviews
- Aeropress Flat White
- Aeropress Cappuccino Recipe
- Aeropress Mocha Recipe
- Aeropress Mocha Recipe
- Awesome Aeropress Latte Art
About The Different Lattes
Although the Aeropress Coffee and Espresso Maker is a fairly straightforward device, there’s a lot you can do with it, which is why it’s so great.
Simple to use, yet dynamic and versatile as well.
Now, let’s talk about yummy lattes for a moment.
Most people know what a latte is, but if you feel like googling it, here’s a recap: A latte is just steamed milk and espresso with some milk foam, basically.
There are various kinds of lattes as well, which you might know of (or be slightly addicted to), such as:
- Mocha Latte
- Cappuccino Latte
- Flat White Latte
The above drinks are hybrid drinks, meaning they have some characteristics of lattes and some not. In other words, they are part latte.
Each of these drinks taken individually, such as mochas, flat whites, and cappuccinos, are themselves different than lattes, but they all contain milk, to some degree.
Here is a chart that shows the ratio and placement of milk to espresso that makes these drinks what they are.

So, what defines your drink as a “latte” vs. a cappuccino, is the ratio of milk to espresso.
As you can see from the above graphic, there is just one shot of espresso in a latte, with a lot of steamed milk, whilst a cappuccino has more espresso.
It’s one of those sliding scale types of things, where the more milk you have in your beverage, the further into latte country you go.
Not a big deal, really. The diagram above on the upper left there should put it all into perspective, so we can get on to the good stuff…
Can An Aeropress Produce Espresso?
There is one more thing we should mention before we get into the actual process of how to make an aeropress latte, and that’s the fact that some people say that an Aeropress *technically* can’t produce authentic espresso according to people who are very particular.
Espresso, the more authentic it is, does make a better espresso, but for that you’d need a real high quality espresso machine, which tends to get pricy, whereas the aeropress is quite affordable.
The bottom line, we think, is that as long as you know how to use your Aeropress to make some sort of tasty dark liquid, whether it be certified espresso according to coffee snobs, or just delicious dark coffee that will work just fine, making an Aeropress-style latte is still a snap.
Alright, so now that we’ve cleared a few things up, let’s move on to using the Aeropress itself.
How To Use The Aeropress
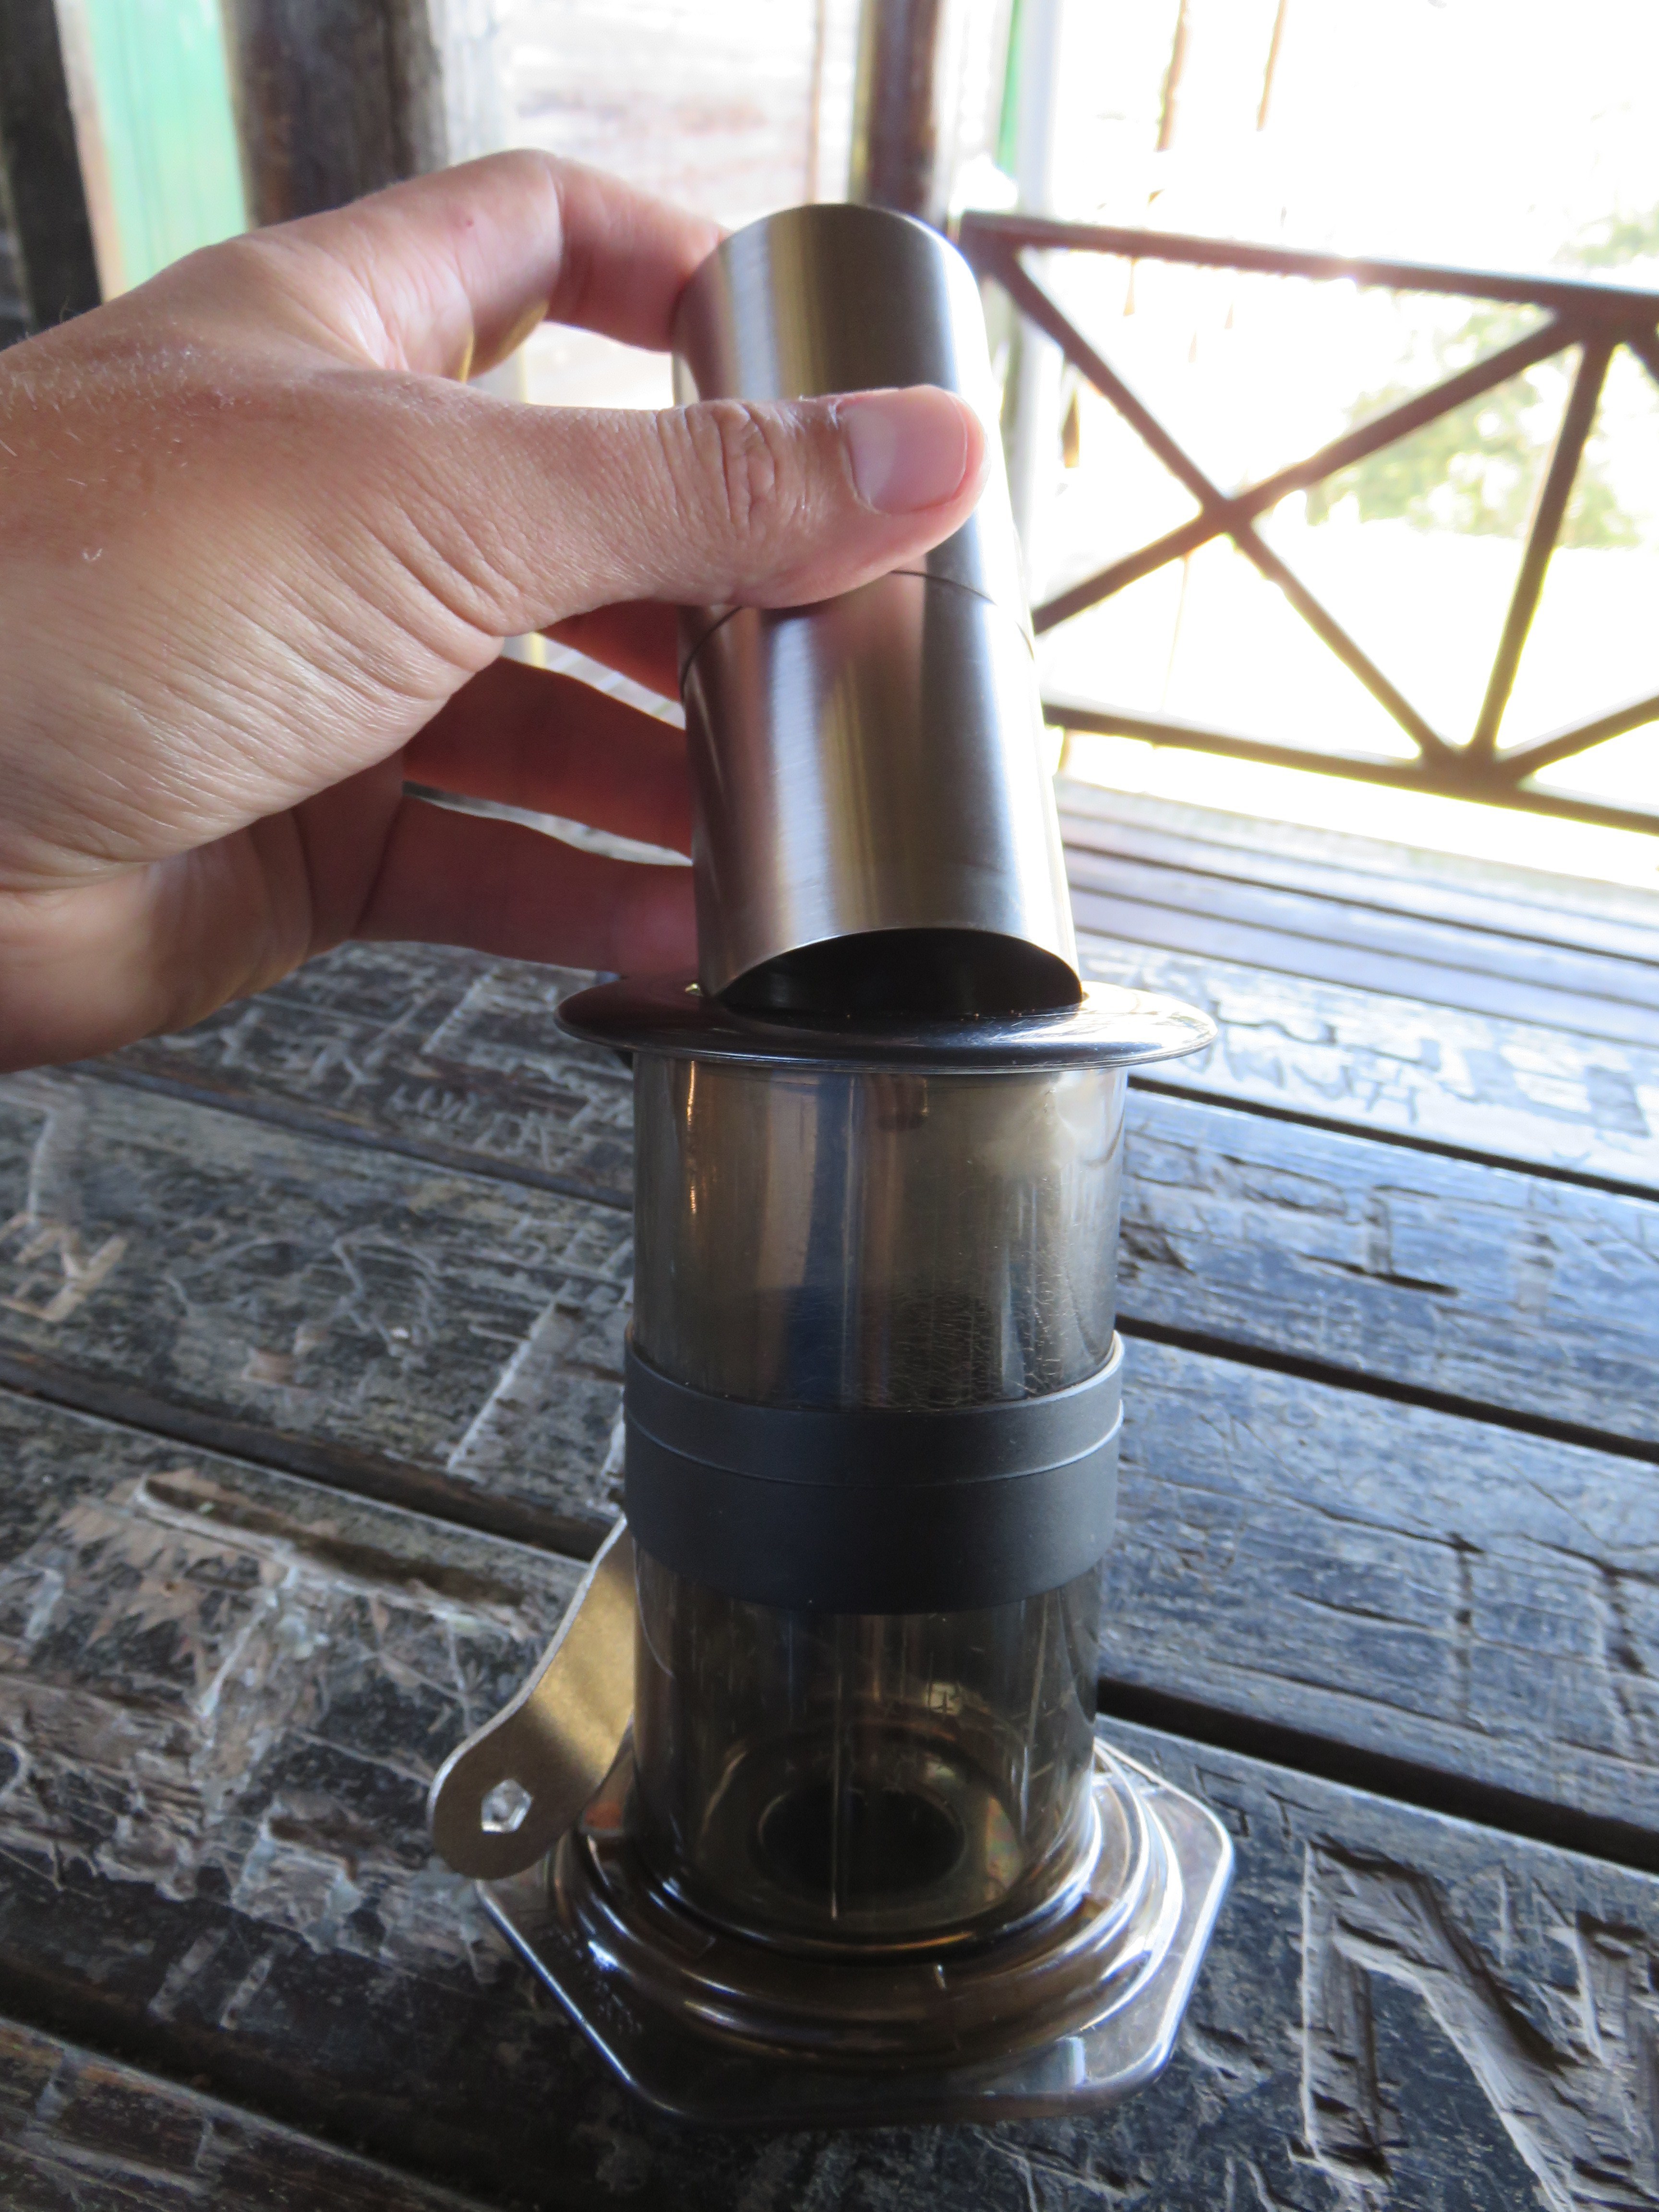
To start with, you’re going to need an Aeropress Coffee & Espresso Maker.
If you’ve used it before, then you’ve won half the battle already, because you’re simply going to be taking your favorite ground coffee and brewing it in your Aeropress as per usual.
If you found your way to this page and somehow don’t have an Aeropress yet, you can buy one from Amazon here for a good price.
Overall, the Aeropress isn’t so pricy – usually under $30.
Oh, and if you want to go into more depth on the topic of grinding coffee beans specifically for your Aeropress, you can read our article that’s called How To Grind For Aeropress, which gets into those specifics, but that’s optional – pre-ground coffee is fine if that’s how you normally do it.
If you are really finicky about having exactly the right grinder, you can read our article, The Best Coffee Grinders for Aeropress, where we talk specific coffee grinder models that are ideal in this situation.
Here’s a quick video about using your Aeropress in general if you’ve never really used one.
What’s The Best Milk For Aeropress?
Alrighty, so you’ve got your Aeropress and you’re good to go.
Now of course you need the other main ingredient used to make lattes. What could it be? Ah yes – milk!
So right away the question arises: what kind of milk is best for making an Aeropress latte?
Our answer is, to the chagrin of anyone who is counting calories right now – definitely the fattier kind of milk. 2% will work fine.
Why is it better? That would be for the foam. Unless you don’t like foam, and are not planning on making any foam.
Is there a particular brand of milk we’d recommend?
Nope, that part is completely up to you. We just say to choose your favorite milk, but remember: the fattier the foamier!
The Aeropress Milk Frother
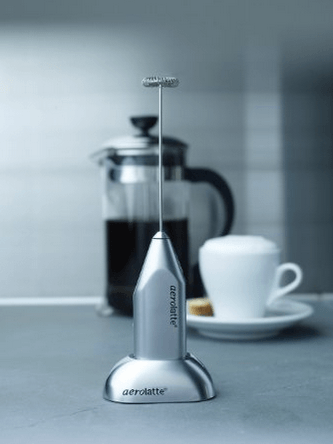
We like our lattes to have a rich foam, which is why we use the following tool. If you haven’t seen it, this is the Aerolatte Electric Milk Frother.
This device is simple to use. Here’s a video showing the Aerolatte Electric Milk Frother in action…
This Aeropress milk frother is very efficient because it can froth all types of milk which includes rice, almond, soya, coconut, UHT, and even powdered milk.
Therefore, this frother is suitable to make all types of coffee, including latte, cappuccino, milkshake, frappe, and many others.
It’s a handheld operated frother with AA batteries that come included, giving you portability you need along with a mess-free workspace.
How To Make An Aeropress Latte w/ Recipe
Ok, maybe we’ve gotten a little bit ahead of ourselves here. Let’s talk about the process of how to make an Aeropress latte, with the order of events. It’s not complicated, after all.
First you’ll need:
- Water
- An Aeropress
- Coffee
- Milk
- A mug or cup
One thing to mention here is this method assumes you don’t want to heat your milk beforehand.
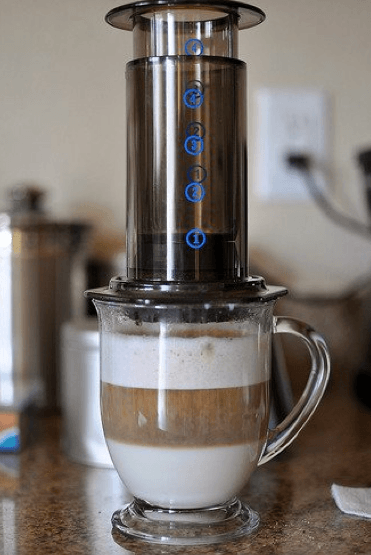
Here’s a graphic Aeropress provides that shows how it’s done.
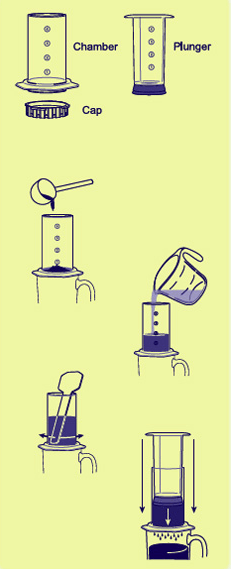
The process of making an Aeropress latte is a quick one of about 4 steps, so if you want heated milk for a hotter drink, you’ll have to factor that in.
Now, the steps:
- Brew your favorite coffee with your Aeropress in your favorite style (inverted, non-inverted, etc.)…
- Let your coffee sit in your Aeropress for a few minute and brew, while keeping the lid on so the heat stays in…
- Meanwhile, because Aeropress coffee doesn’t take long at all to brew, you have just enough time to froth your milk, which is easy enough to do. Just froth away until your milk is rich and foamy. You can use the frother we mentioned above, and it will take a minute to whip it into some nice foam. Of course, you can froth it in another way, or not at all – the choice is yours…
- Put your Aeropress on top of your glass or mug of milk and press your coffee slowly into your frothed milk, letting it slowly integrate into the beverage. You will probably notice one, if not two distinctive layers that makes lattes look so appealing…
- Add some decorations if you have a fancy coffee stencil of some kind to make the drink look even more appealing…
And you’re done!
Now you’re ready to enjoy your delicious Aeropress Latte for your own personal enjoyment, for the latte lover in your family, or to dazzle guests!
Aeropress Latte How To Video Reviews
In this section we comment on some of the top Aeropress Latte videos that we’ve seen.
Seattle Coffee Gear has a really solid and helpful video here on making a faux Aeropress latte coffee.
What we really appreciate is that they’ve not only clearly stated the specific ingredients and amounts, but have given tips along the way, also mentioning the inverted Aeropress method.
This video is very casual, and is easy to follow, so beginners should feel free to follow the same exact recipe that they’ve presented and get some impressive results.
Overall, their technique is correct and the results are solid, which you should experience every time you closely follow their video tutorial.
Up next we have a video called “Aeropress Latte Preparation”.
If you’re new to Aeropress, we highly suggest you to watch this video tutorial in which Startup Jungle shows a step-by-step tutorial on how to get that perfect Aeropress latte.
What is really unique about their video is they show everything from the first initial steps onward, and really focus on the preparation process.
If you’re a total newbie who didn’t even know what is an Aeropress and how it is used, after watching their 3-min video, you’ll know almost everything there is, because it’s laid out in front of you and you can even take notes if you want to.
Everything is written in detail, including the time the therma-pen takes to get the temperature, which is really useful. It’s an easy-going tutorial that is a real pleasure to watch and follow, as a fellow coffee lover.
Up next we have a video simply called “Aeropress Latte”.
If you’re not only a visual learner but an audio learner as well, this video can be helpful. It’s simply a slow, step-by-step, and casual tutorial on latte preparation using an Aeropress.
What we found to be really valuable in this video is that not only the steps which were shown and explained, but Monkey See has even explained the whole process before getting into the process itself.
That’s helpful for people who like to know the whole process before diving into it – eg. knowing exactly what there is to be done and the order of all of the steps.
It’s a tutorial that says “If I can do it on my kitchen counter, you can definitely do it on yours”, which makes this Aeropress latte video a great source to learn from.
Aeropress Flat White Recipe

While most people say that it’s not possible to make a flat white coffee with an Aeropress, that’s only partly true, due to the equipment used.
However, you can still make a coffee that’s very similar to flat white, if you just give it a try.
The main reason for not being able to make a flat white is that the Aeropress kit won’t do the job and won’t be able to bond correctly with an aero brew.
Here are the instructions what you should use to achieve Aeropress flat white flavor for your taste buds.
You will need to get a small volume of strong coffee, preferably in a small glass and steamed milk.
The key point to get a similar taste is to use a higher ratio of coffee to water, than what is usually recommended.
After you heat the milk, you will have to froth it. And this can be done in two ways. Either use a simple milk frothing wand, or a french press to prepare your milk.
When you’ve done that, all you are left to do is pour the hot & steamed milk into a small glass with your coffee.
Aeropress Cappuccino Recipe

Just like the latte, it’s a bit tricky to achieve a perfect cappuccino with an Aeropress, due to the equipment differences.
It’s easy to get that strong coffee taste, but the tricky part is getting that right crema.
That said, nothing is impossible at Know Your Grinder, and, down below, we’ll give you the very-much-asked-for Aeropress cappuccino.
To get the super strong coffee flavor, you’ll want to use about 20-25 grams of grounds coffee along with about 200-230 grams of water.
However, to achieve that extra bit of crema here’s what you should do.
Get 50 grams of water, stir it gently just to make sure all grounds get wet, then let it stir for about 5 to 10 minutes.
Then, you can add the rest of the water, just a simple pour over using circular motion is fine.
But this time, you’ll skip the shaking part, and instead, press the water up while inverted until the crema is right at the top.
The last steps you have to do is attach the filter and flip it, press through right away for about 30 to 40 seconds, and stop at the hiss.
It might not be your perfect cappuccino, but it’s the best cappuccino you’ll ever make with your Aeropress!
Aeropress Mocha Recipe
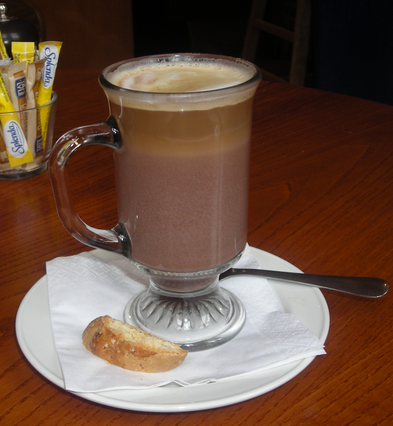
To make a perfect Aeropress mocha, here’s what you’ll need.
You’ll need about 225 grams of water at 85-Celsius degrees, 20 grams of coffee beans, 5 grams of chocolate, use a med-fine grind and use an Aeropress inverted method.
Now, let’s get to work.
You will need to get your beans in and ready, get 60 grams of water and pour it for about 10 seconds, add the chocolate, mix it very quickly and fast for about 15 seconds. Then wait for 30 seconds, add the rest of 165 grams of water (don’t worry if it doesn’t fit all), add a filter, flip, and med-hard press for anywhere between 15 to 20 seconds.
You might also want to adjust the chocolate to coffee ratio in order to get a preferred taste.
Aeropress Coffee Recipe

Making a coffee with Aeropress isn’t something that’s hard to learn, even though it might seem like a lot to learn at first.
All you need to do is start with about 15-20 grams of ground coffee, and make sure you use 15-20 grams of coffee to 250 grams of water ratio.
Then, if you aren’t making a particular type of coffee this standard Aeropress coffee recipe will be fine.
You can use a standard brew method. Start a timer, and put your coffee grounds in Aeropress, and then pour about 50 grams of water at first.
You’ll have to stir it a few times, and then add the rest of the water, which is 200 grams, making it total 250 grams.
Once you’re done doing that, put the plunger on the Aeropress and wait until the timer you’ve started earlier gets to 1 minute and 10 seconds.
When the timer is at 1:10, just plunge it for about 15-20 seconds, and you’re ready to enjoy your coffee!
We hope you enjoyed our article, thanks for reading. 🙂
Awesome Aeropress Latte Art!

Need to perfect your latte and aeropress art making skills, check out these youtube videos for more lessons!
For an awesome Aeropress latte art, you won’t only need a good equipment and a bit of skill, there are techniques and knowledge you need to have in order to pull it off.
Making a perfect foam plays a crucial role, make sure you pour enough cold milk before turning the steam on and proceeding to spin the milk and swirl it until you get a satisfying texture you’re looking for.
In the end, pouring the milk is a point where you’ll either make or break your latte art. Therefore, you should pay attention to the position, height, and even flow when you’re pouring a steamed milk.
Even latte ratio of espresso to milk is important and getting used to it, as every single factor can change things, so that’s something you should pay attention to and even write stuff down to make sure you can reproduce it again later.
More Related Videos
More from our site:
 |
 |
 |
 |

About Jeanette Kierstead
Jeanette has been testing and reviewing kitchen appliances for over six years now, so she knows her stuff when it comes to finding the best ones. In her spare time, she loves nothing more than baking cakes and cookies – especially if she can do so with one of her favorite stand mixers! When she's not in the kitchen, Jeanette is usually looking after everything homes-related; from garden tools to smart home products.
Thoughts on "How To Make An Aeropress Latte (Includes Recipe)"
 |
 |
 |
 |
Get FREE Coffee Gifts now. Or latest free grinders from our best collections.
Disable Ad block to get all the secrets. Once done, hit any button below
 |
 |
 |
 |
